The first thing any website developer needs to do once the new stock WordPress theme is installed on any website is to customize the theme as per the needs and purpose of the website. These customizations are very vital to make a website usable for clients as well as users of that website.
There are many ways to customize a theme once it’s installed and activated on your website. Our UrbanMojos WordPress team has explored all the ways to customization and we will talk about them one by one.
1. Start with choosing a right template for your theme

After you choose a suitable theme for a website, the first step is to choose a correct template for that theme. Most of the Free and Premium or paid themes available on the WordPress marketplace or a third-party marketplace like CodeCanyon, ThemeForest, etc. come with multiple in-built templates which are designed for different types of websites. For example a theme will have different templates & layout available for Cooking Website, E-Commerce store, Pet Store, Book Store and much more. Thus as per your need you can choose a template that will give you a head start to design a theme.
The options to choose a template after you install & activate theme, comes in the in-built customization options already provided in the theme. These Template choosing options can be found on Theme Dashboard.
2. Setting up a Child theme
Before doing any further customizations in the theme, its important to set up a child theme. A child theme inherits the functionality and styling of its parent theme while allowing you to make modifications without altering the original files. This ensures that your customizations remain intact even when the parent theme receives updates, safeguarding your hard work from being overwritten. Creating a child theme is a simple yet crucial step that paves the way for seamless customization.
3. Customizations with Plugins and Page builders
Most of the third party themes can be customized using plugins and Page Builders like Elementor & Gutenberg etc. WordPress offers a plethora of plugins and page builders that simplify the customization process. Page builders like Elementor, Beaver Builder, or Divi allow you to visually design your website by dragging and dropping elements onto the page. These tools often come with pre-designed templates and advanced styling options, enabling you to create stunning layouts without writing a single line of code.
4. Using theme’s in-built customization Options
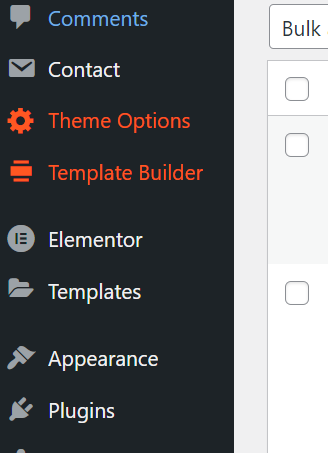
Every theme has in-built customizations where you can edit them all in one place. These option is generally available on the WordPress Dashboard sidebar. Like in the image, this is described as “Theme Options”.
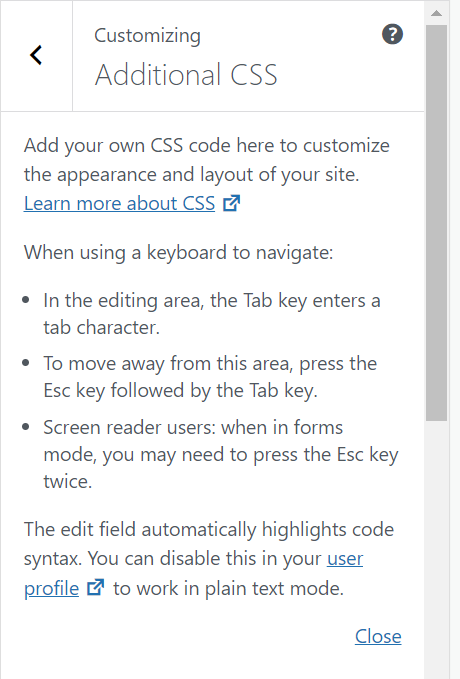
5. Edit CSS Styles
For more advanced customization, you can edit the CSS styles of your theme. While this may sound intimidating, you don’t need to be a coding expert to make simple CSS modifications. Tools like the built-in Custom CSS module in the WordPress Customizer or plugins like Simple Custom CSS provide a user-friendly interface for adding custom CSS code. Start by identifying the elements you want to modify, then use CSS to change their appearance accordingly.
6. Customize Templates and Functions (Advanced)
This customization option will involve coding and editing code in theme files. For those comfortable with a bit of coding, you can take customization a step further by editing template files and functions. This allows you to alter the structure and functionality of your theme to better suit your needs. However, proceed with caution, as editing template files directly can break your website if not done correctly. Always make backups before making any changes and consider seeking assistance from a developer if you’re unsure.